
Recaro Seats Buying Guide: Fitment, Wiring and Airbags
Recaro seats are one of the highest-impact interior upgrades, but only when brackets, airbags, occupancy sensors, and trim compatibility are handled correctly. This deep guide covers inspection, purchase, and installation strategy for real-world European builds.
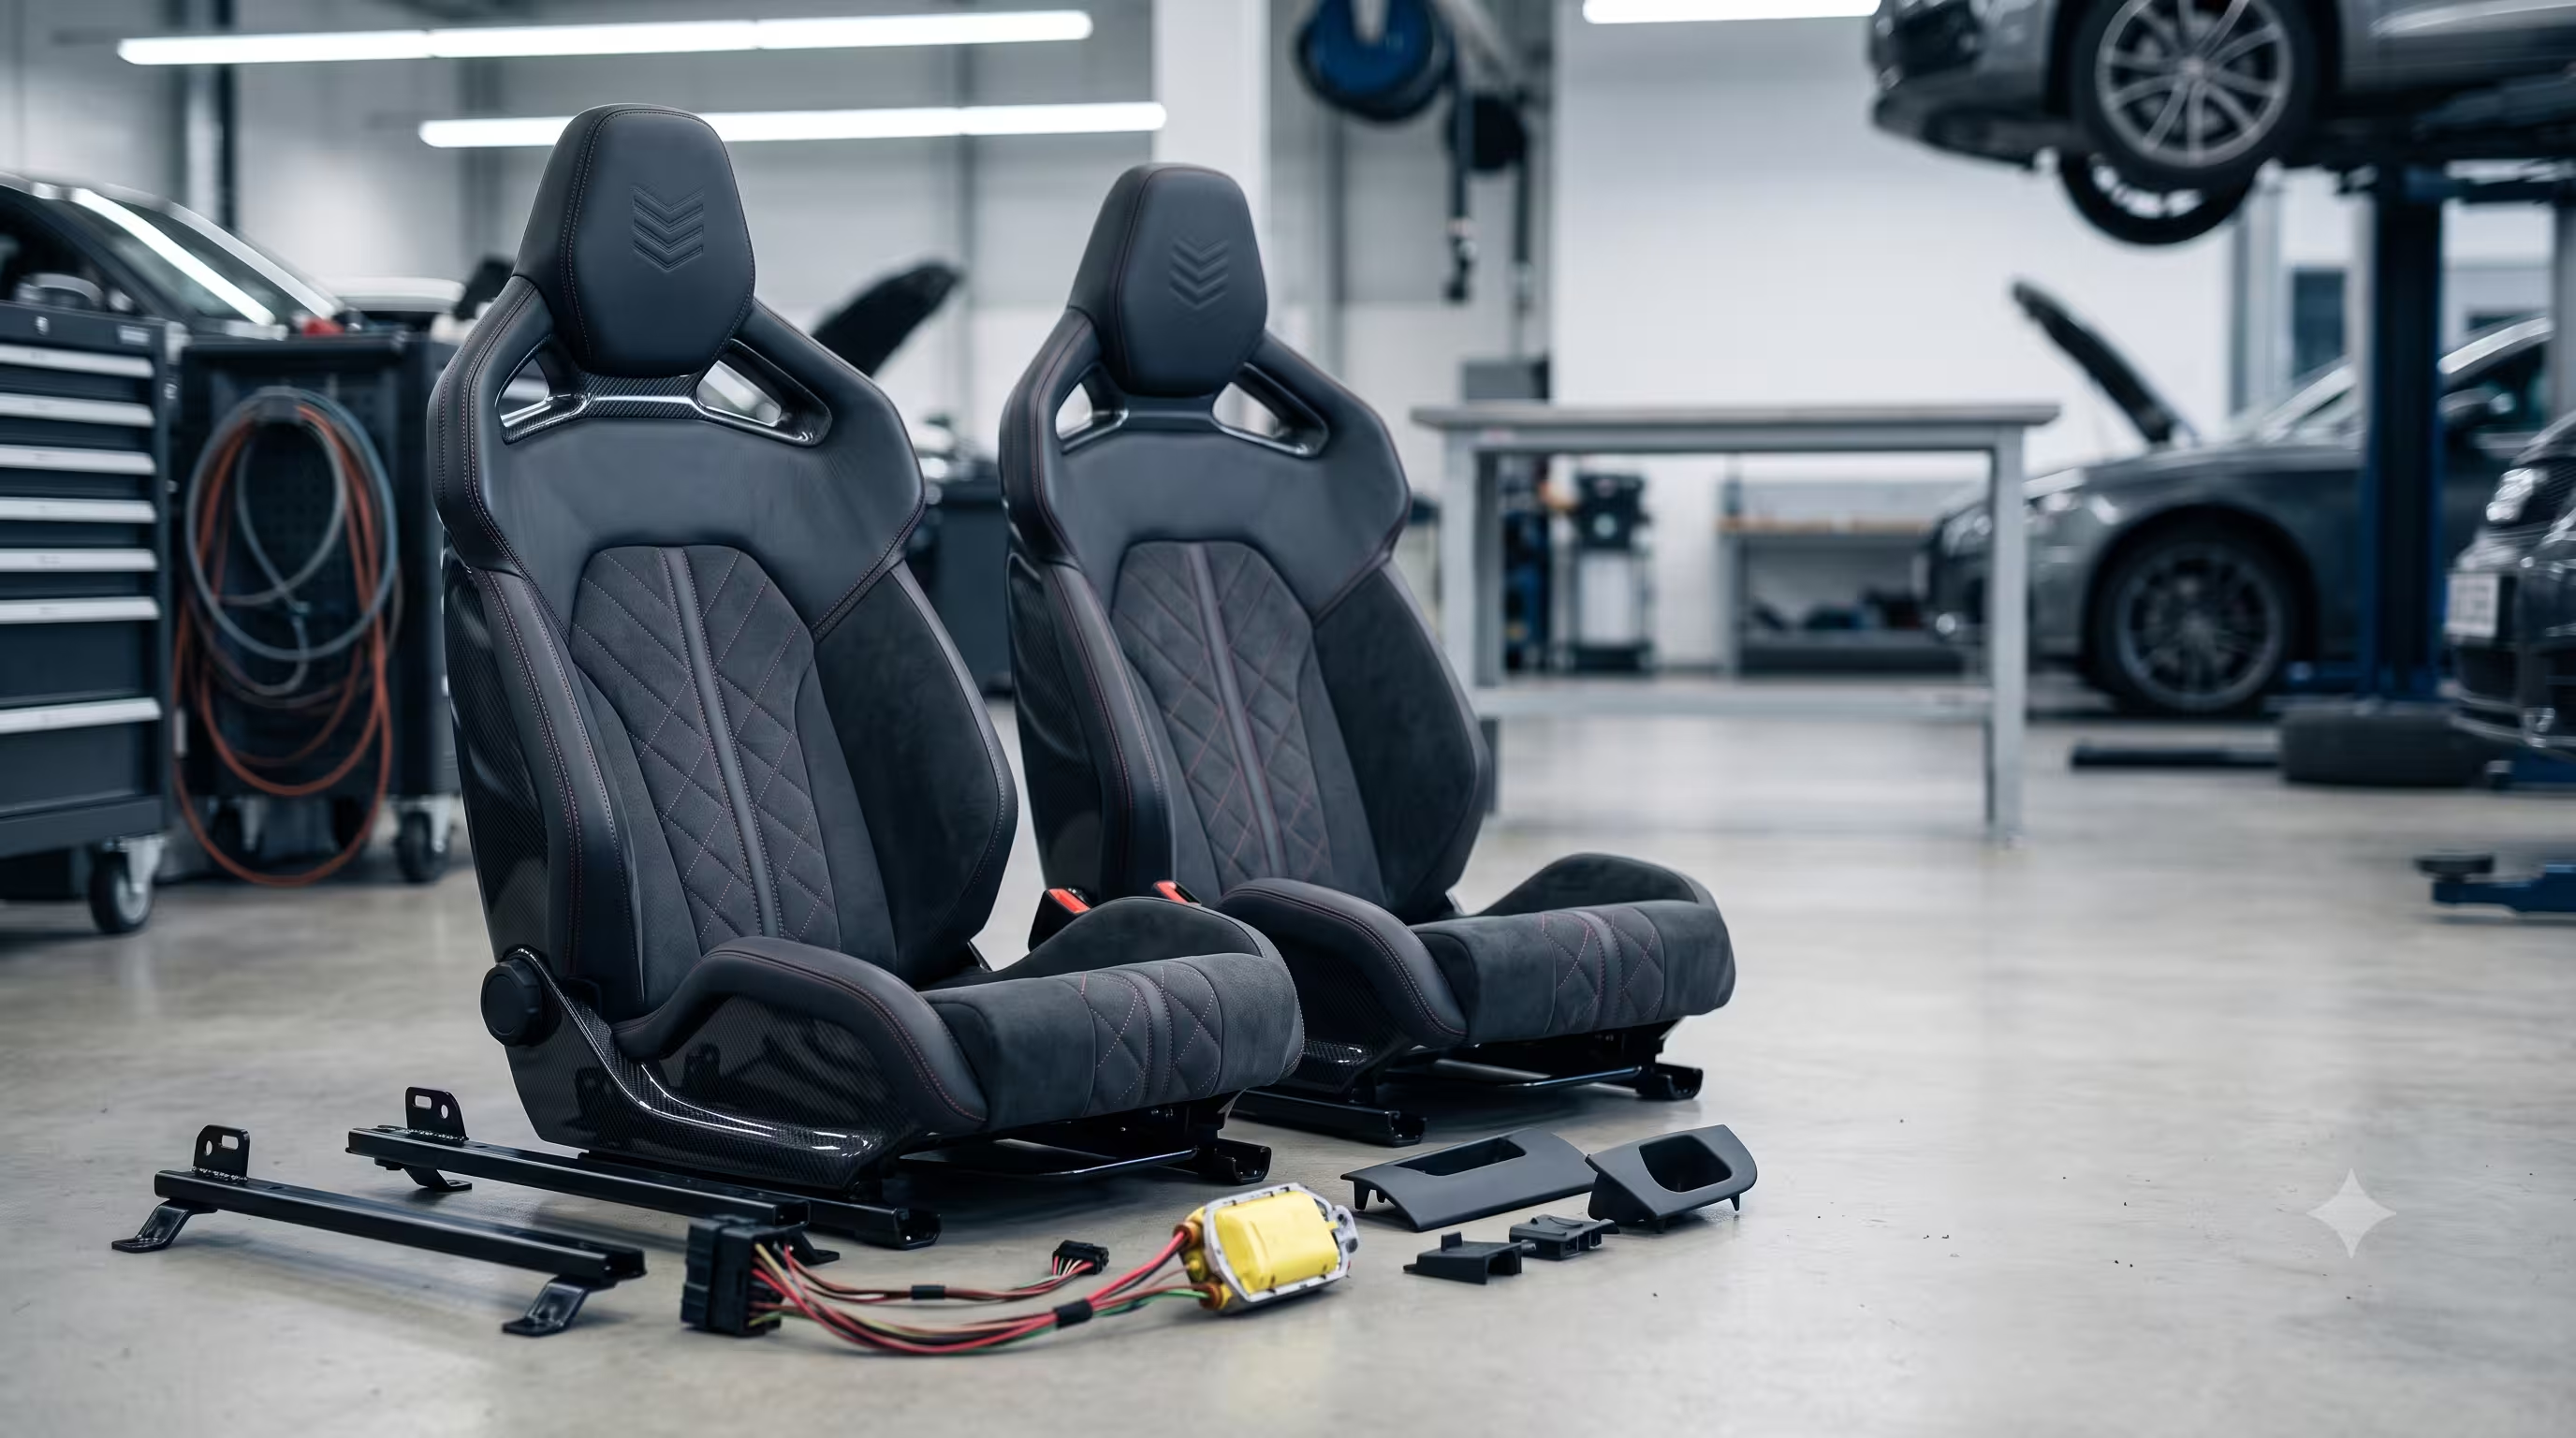
Buying used Recaro seats: which factory Recaro interiors fit which cars, wiring and airbag compatibility, what to check before you buy, and current stock. It is written for buyers, DIYers, and workshops who want clearer technical context, more reliable fitment checks, and fewer avoidable mistakes.
In this guide
- Why Recaro seats are different from generic sport seats
- Used Recaro purchase checklist before payment
- Fitment strategy: direct swap, bracket conversion, or custom work
- Wiring, airbags, heating, and occupancy sensors
- Material and condition grading for leather and Alcantara
- Best-use scenarios by build type
- Common mistakes that make Recaro swaps expensive
- Recaro sourcing workflow for workshops and enthusiasts
Why Recaro seats are different from generic sport seats
Recaro interiors are valued for lateral support geometry, frame rigidity, and long-session comfort rather than appearance alone, which is why OEM Recaro sets from Audi, Opel OPC, and S-line variants command premium resale value.
A Recaro upgrade is rarely just about styling. Factory or OEM-associated Recaro interiors are valued because the frame, foam, and support geometry were developed around real driving posture, sustained lateral load, and long-term comfort. That combination is why the seats often retain value years after the donor vehicle has aged out of the mainstream market. They feel like a system, not just a visual accessory dropped into the cabin.
That value also explains why the market is full of incomplete sets, mismatched trims, and cosmetic restorations that look stronger in photos than in person. A serious buyer has to think like an upholsterer, an electrician, and a fitter at the same time. Seat condition, loom integrity, airbag presence, rail geometry, and trim completeness all influence whether the upgrade remains OEM-like or becomes an expensive fabrication exercise.
- Backrest and base foam contours are tuned for sustained side support and fatigue reduction on longer drives.
- Factory-integrated Recaro variants usually preserve OEM anchor points and cabin ergonomics better than universal aftermarket shells.
- High-demand trims often include heating, electric adjustment, memory, and integrated airbags that require correct electrical integration.
- Because many sets are removed from donor vehicles, inspection quality and documentation matter more than seller claims.
Used Recaro purchase checklist before payment
Most expensive Recaro mistakes come from incomplete kits or hidden rail damage, so buyers should validate structural, electrical, and trim completeness before buying.
The purchase checklist matters because interior swaps accumulate hidden costs faster than buyers expect. A pair of attractive front seats can become a compromised project if the rails are bent, the occupancy hardware is missing, or the rear bench and trim color do not match the front half of the cabin. What looks like a bargain in a listing often becomes expensive only after the seats arrive and the missing pieces are counted properly.
The strongest listings are the ones that reduce ambiguity: underside photos, close-ups of bolster wear, loom and connector images, and a clear statement of what is included. That evidence lets a buyer assess whether the job is a direct same-platform refresh, a moderate conversion, or a custom install that needs brackets, coding, or upholstery work. Without that evidence, the project cost stays hidden until too late.
- Confirm exactly what is included: front seats, rear bench, rails, buckles, plastics, headrests, and matching trim cards when advertised.
- Request underside photos of rails and mounting feet to check bends, cracks, corrosion, and improvised weld repairs.
- Ask for close-up shots of high-wear zones: bolsters, stitching, seam corners, lumbar controls, and seat base plastics.
- Verify if side airbags, occupancy mats, pretensioner mounts, and heater elements are present and undisturbed.
- For electric seats, request a short power-on test video showing movement, recline, and any memory function response.
- Get donor vehicle details where possible: model code, body style, and year range to reduce bracket and connector mismatch risk.
Fitment strategy: direct swap, bracket conversion, or custom work
A Recaro swap should be treated as a fitment project with three phases: mechanical mounting compatibility, electrical compatibility, and legal/safety compatibility.
The first mistake in Recaro projects is collapsing every swap into the same category. Some are true direct swaps within the same generation and platform family. Others are bracket conversions that still preserve a largely OEM installation path. Others again are custom projects where seat width, rail geometry, belt mounts, or airbag architecture mean the installer is effectively engineering a new seating solution into the car. Those three paths should never be priced or planned as if they are equivalent.
Mechanical fit is only the first gate. A seat can physically enter the cabin and even bolt down while still being wrong for the car because buckle mounts, occupancy sensors, heater controls, or airbag systems no longer align with the vehicle electronics. The safest way to think about Recaro swaps is that the visual fit is the easy part; the real fitment decision sits underneath the trim and inside the loom.
- Start with platform-level confirmation: model generation, body style, and seat mounting footprint.
- Separate hard fitment from soft fitment: a seat can physically bolt in while airbags or seat occupancy systems remain incompatible.
- Check belt buckle location and pretensioner mounting because bracket mismatch can create safety issues even when rails align.
- On donor sets with integrated side airbags, plan proper SRS continuity strategy rather than bypassing warning circuits.
- If custom rails are required, prioritize certified hardware and avoid modifications that alter seat belt load path geometry.
Wiring, airbags, heating, and occupancy sensors
Electrical integration determines whether a Recaro upgrade feels OEM or becomes a warning-light project, so connector mapping and module coding should be defined before installation day.
Seat electrics are where otherwise promising interior upgrades go wrong. Heated elements, power adjustment, memory functions, buckle sensors, occupancy mats, and side airbags can all depend on connector layouts and module expectations that vary by trim or market. The seats may look correct and still trigger persistent SRS or comfort-system faults if the electrical side was treated as an afterthought.
A high-quality installation plan therefore starts on paper. The loom should be mapped before the seats ever enter the car, with a clear view of which circuits are present, which modules expect coding changes, and which functions are safety critical. Improvised solutions around airbags or occupancy systems are not just poor practice; they can directly affect restraint-system logic and post-install inspection outcomes.
- Map every connector pinout before install: power, ground, heater, occupancy, side airbag, and seat position functions.
- If moving between trims, verify whether gateway/module coding changes are required for heater or memory activation.
- Treat occupancy sensors as safety-critical. Incorrect handling can affect airbag logic and trigger persistent fault states.
- Retain and route wiring looms to avoid pinch points at full fore-aft travel; test full movement with trim installed.
- Scan and document SRS fault status before and after work so any new faults are isolated immediately.
Material and condition grading for leather and Alcantara
A strong cosmetic grade requires objective checks that go beyond photos, especially for white and light-tone Recaro interiors where dye transfer and bolster collapse are common.
Cosmetic grading on sport interiors needs more discipline than generic used-part grading because the value sits heavily in touch surfaces and side support. Leather, Alcantara, foam resilience, and stitching integrity all influence whether the set still feels like a premium interior or simply looks acceptable from two metres away. Light-colour interiors are particularly unforgiving because dye transfer, stretched bolsters, and previous recolouring attempts are more visible and harder to reverse cleanly.
The useful approach is to grade structure separately from surface finish. Foam collapse, twisted frames, or slider play are far more serious than grime or moderate wear. A seat that needs detailing can still be a strong buy. A seat with hidden structural fatigue, poor repair work, or inconsistent padding usually is not. Buyers who separate cosmetic refresh issues from structural condition tend to make better decisions and negotiate more rationally.
- Grade bolsters separately from seat centers because entry-side wear usually appears first on outside bolsters.
- Check for foam compression memory by pressing and release-testing the same areas across both front seats.
- Inspect Alcantara nap consistency under angled light to spot patch cleaning or fiber abrasion zones.
- Confirm whether color-matched rear bench and door trim are included to avoid costly two-tone corrections later.
- Request original high-resolution images before and after cleaning if a seller advertises restored condition.
Best-use scenarios by build type
Not every Recaro set suits every project, so selection should align with the build goal: OEM-plus restoration, sporty daily driver, or track-leaning interior conversion.
The right Recaro set depends on the purpose of the car. A tidy OEM-plus restoration benefits from same-platform seats with matching rear trim and minimal electrical deviation from stock. A fast-road or daily project may benefit more from heated, electrically adjustable seats in strong condition than from the most aggressive bolster profile. A track-oriented build has different priorities again, often valuing support and mechanism integrity over complete rear-cabin matching.
Thinking in scenarios helps resist the common mistake of chasing the most famous seat rather than the most suitable one. A rare or highly bolstered set is not automatically the best choice if the vehicle will be used for commuting, if the cabin trim will clash, or if the conversion work becomes disproportionate. Good interior upgrades look coherent because the seat choice matches the car's actual role.
- OEM-plus restoration: choose complete same-platform interior sets with matching rear bench and trim pieces.
- Daily comfort plus support: prioritize heated/electric variants in strong condition over the most aggressive bolsters.
- Performance-leaning street build: choose tighter-bolster sets with verified frame integrity and minimal play in adjustment mechanisms.
- Resale-conscious upgrades: document fitment work and keep removed OEM parts to preserve reversibility and buyer confidence.
Common mistakes that make Recaro swaps expensive
Most budget overruns come from missing hardware, mismatched looms, and underestimating coding requirements, not from seat price itself.
The largest cost overruns on seat swaps usually come after the purchase, when the installer discovers the kit is incomplete or the vehicle-side requirements were never mapped. Missing buckles, broken trim plastics, occupancy mismatches, incorrect rails, and undeclared airbag differences all convert a simple interior upgrade into a parts-hunting exercise. By the time those issues are discovered, transport costs and sunk time make walking away difficult.
This is why experienced buyers spend more time interrogating the listing before payment than admiring the headline photos. The seat price is only the visible part of the budget. The hidden budget sits in hardware completeness, diagnostic work, bracket geometry, and the labour needed to make the installation safe and coherent. Understanding that early is what keeps a Recaro project enjoyable rather than exhausting.
- Buying front seats only, then discovering rear bench and trim color mismatch increases total cost dramatically.
- Skipping connector verification before purchase and needing custom electrical rework after delivery.
- Assuming all Recaro trims are interchangeable within a badge family without checking generation-specific mounts.
- Ignoring rail wear or damage and chasing persistent creaks, misalignment, or slider locking issues later.
- Treating SRS lights as cosmetic. Proper diagnostic resolution is mandatory for safety and inspection compliance.
Recaro sourcing workflow for workshops and enthusiasts
Use a repeatable workflow to source faster and reduce returns: shortlist by platform, validate with evidence, then install with preplanned coding and safety checks.
The most efficient sourcing workflow is consistent across platforms: define the target specification, shortlist candidate sets by donor vehicle, validate completeness with evidence, and only then plan the install. That sequence sounds obvious, but many seat projects still happen backwards, with the seats bought first and the compatibility work started later. The result is avoidable uncertainty about rails, looms, safety hardware, or trim integration.
A repeatable workflow also makes workshop handover easier. If the buyer arrives with donor details, photos, connector evidence, and a defined install objective, the workshop can scope the job far more accurately. That lowers the chance of surprise labour and makes it easier to document what was changed, which matters for future maintenance, resale, and any later troubleshooting of electrical functions.
- Build a shortlist of candidate interiors by platform and target functions (heated, electric, memory, airbags).
- Validate each candidate with photo and compatibility evidence before committing.
- Reserve installation slot only after confirming all seat-side and vehicle-side connector requirements.
- Complete post-install diagnostics and function tests before final handover.
- Capture before/after documentation for quality records and future resale support.
Comparison table
Recaro buyer matrix for common scenarios
| Scenario | Recommended seat type | Key checks | Typical risk if skipped |
|---|---|---|---|
| OEM-style restoration | Complete same-platform Recaro interior set | Rear bench, trim color, rail condition | Two-tone mismatch and missing trim cost |
| Daily driver comfort | Heated/electric Recaro in strong cosmetic grade | Heater loom and occupancy sensor compatibility | Warning lights and non-working comfort features |
| Sport-focused road build | High-bolster Recaro with intact mechanisms | Slider locks, frame integrity, airbag harness | Seat play, noise, and SRS faults |
| Budget swap project | Used front pair with verified conversion path | Bracket geometry and belt mount compatibility | Unexpected fabrication and compliance issues |
External reference images
These images are hosted by their original publishers. Each image includes a direct source link for attribution and context.

BMW E36 Vader seat reference listing
View original source
Audi interior restoration inspiration
View original source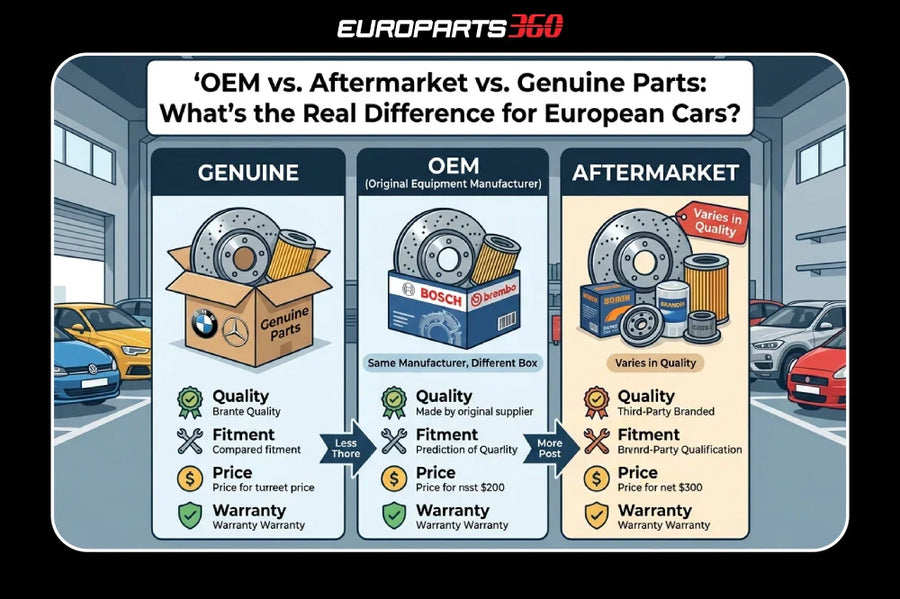
OEM vs aftermarket visual explainer
View original source
VIN-first fitment visual
View original sourceRelated site resources
These links point to supporting resources such as FAQs, category references, and contact forms when extra context is useful.
- Opel Astra J OPC Recaro GTC 3-door Interior Leather
- Opel Astra J OPC GTC Recaro Sports Seats
- Audi RS6/S6/A6 C5 Recaro Leather Set
- Audi S3 8L Genuine Heated Recaro Seats
- Audi S5/A5 8T Recaro Leather Interior
- Audi S4 B6/B7 Recaro Interior
- Opel Insignia OPC Recaro Seats Interior
- Ford Fiesta MK7 ST Recaro Seats
- Fitment enquiry and pre-install checks
FAQ
Are used Recaro seats worth it compared to generic sport seats?
Usually yes for OEM-focused builds, because used genuine Recaro interiors can preserve cabin quality and support better than generic seats when rails, wiring, and safety systems are validated correctly.
Can I install Recaro seats without airbag or occupancy sensor issues?
Yes, but only with proper connector mapping, module coding where required, and post-install diagnostics. Skipping this step is the main cause of persistent SRS warnings after swaps.
What should I ask a seller before buying Recaro seats online?
Ask for full kit contents, underside rail photos, close-up bolster condition, wiring connector photos, and a powered-function video for electric sets. These checks prevent most costly surprises.
Which Recaro sets are currently available on MotorVault?
Availability changes over time. Use the linked examples in this article to compare trims, included parts, and connector layouts against the set you are researching.